Create Your Own Adventure
Result
Method
Creating The Game
A lot of this project, given it being a beginner level project, was premade. The characters, images and backgrounds were provided by Codecademy. Due to this, my main focus was on learning how to use Phaser and JavaScript to create an interactive game. My first step was to set up the game environment creating the create function to set the background.
    function create(){
        gameState.background = this.add.image(0, 0, 'bg');
        gameState.background.setOrigin(0, 0);
    }
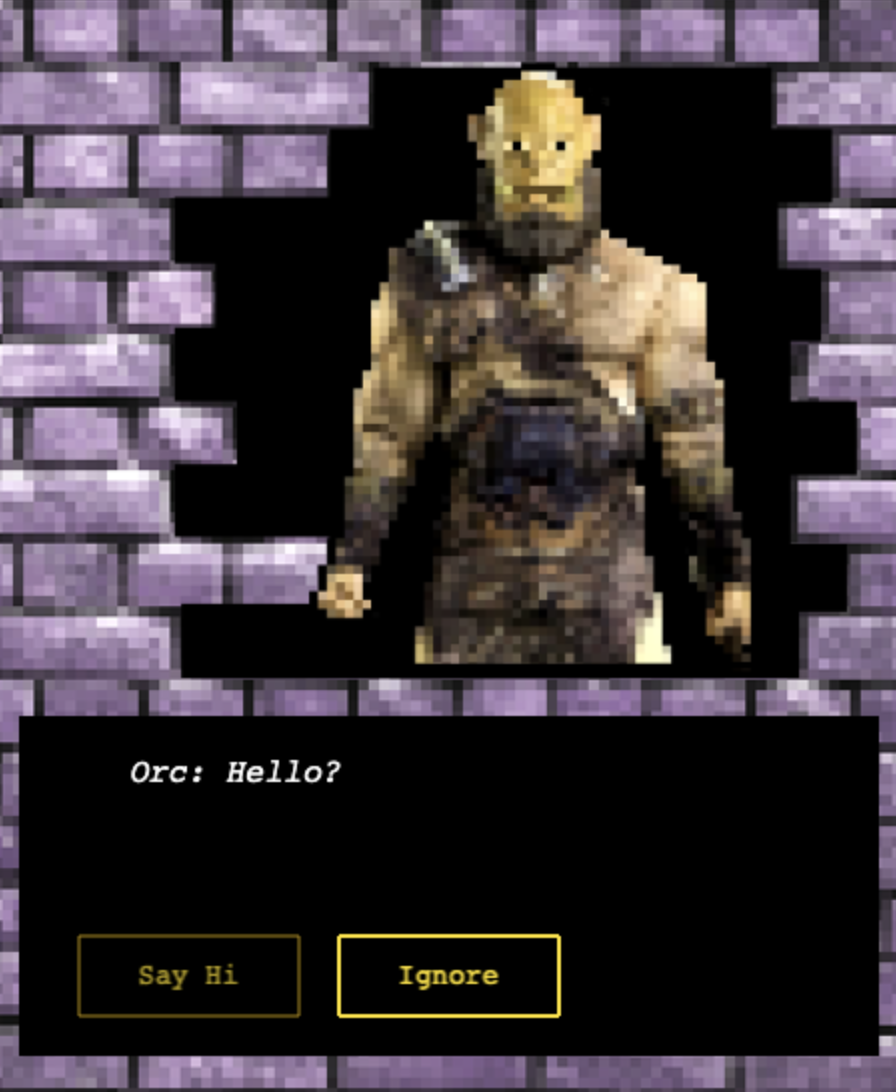
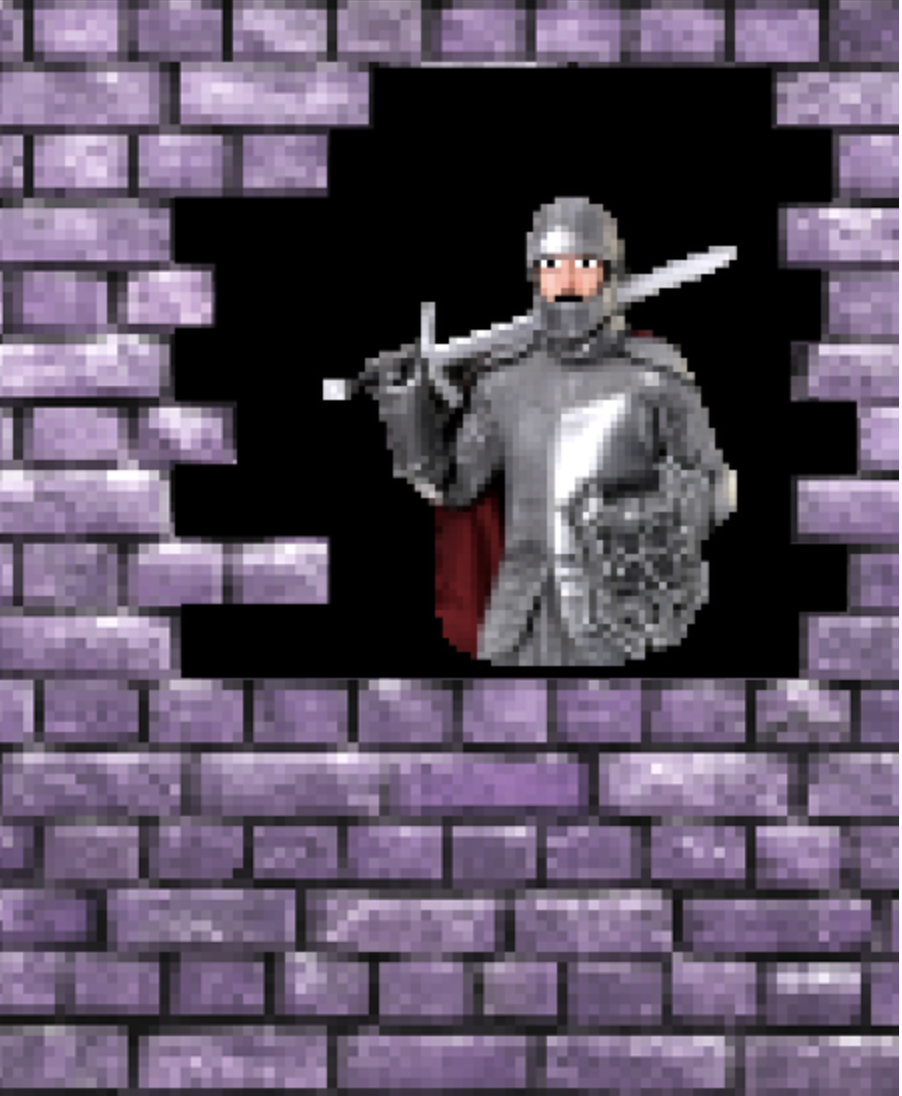
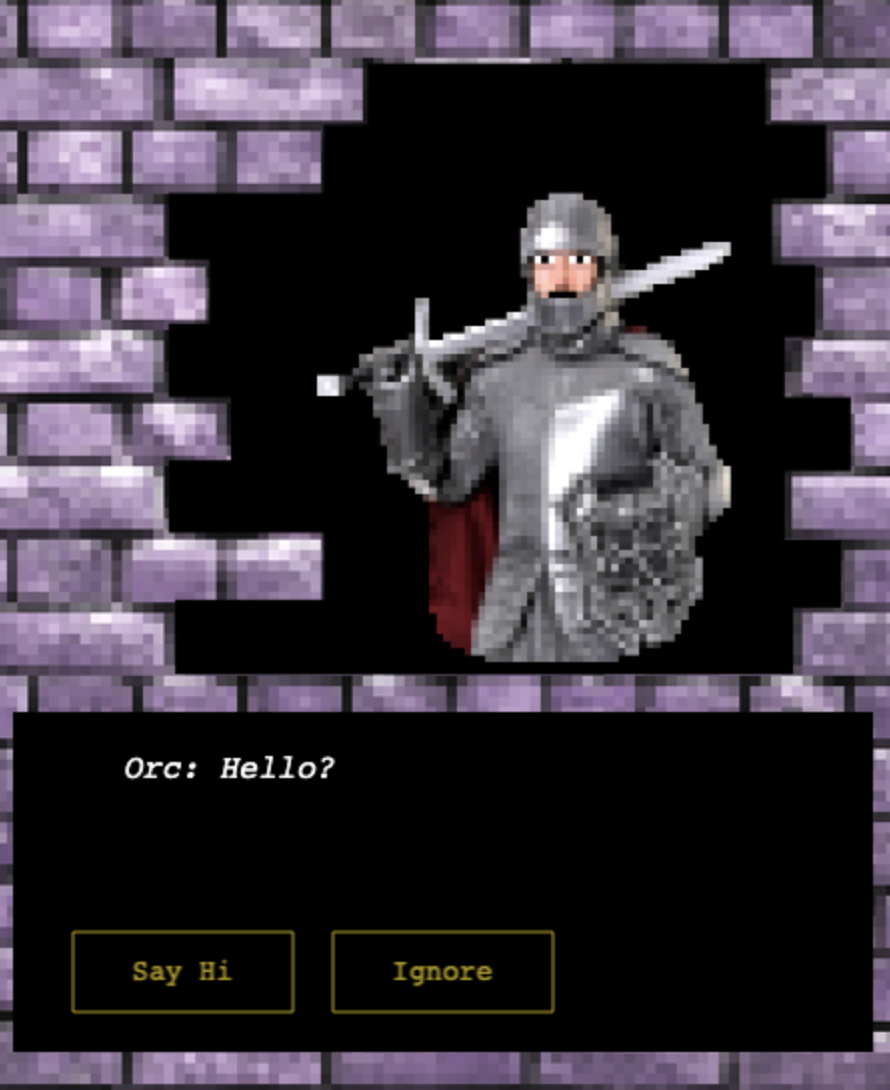
Once the create function was set up, I then moved onto rendering the character function. In this I had to input the character image, set its scale and position on the screen. Additionally, I had to ensure that if a character was already present on the screen, it would be destroyed before the new one was rendered.
    function renderCharacter(scene, key){
        if(gameState.character){
            gameState.character.destroy();
        }
        gameState.character = scene.add.image(270, 340, key);
        gameState.character.setOrigin(.5, 1);
        gameState.character.setScale(.7);
    }
My final step in this was to check that I had correctly rendered the character. This was done by calling the renderCharacter function within the create function.
        function create(){
            gameState.background = this.add.image(0, 0, 'bg');
            gameState.background.setOrigin(0, 0);
            renderCharacter(this, 'knight');
        }
Creating The Dialogue
The dialogue of the game have already been premade, so in this section I focused on integrating it into the game. I used a premade InitializePage function to set up the dialogue box and text. Then created a variable for the first page of the dialogue. Finally, used a premade function to display the first page when the game starts. I added all three of these into the create function.
    initializePage(this);
    const firstPage = fetchPage(1);
    displayPage(this, firstPage);
Displaying Each Page To Make The Adventure Game
The first thing I did in this step was render the character in the displayPage function in order to show the correct character and text combination.
renderCharacter(scene, page.character);
I then made the option boxes interactive using the setInteractive method. Additionally, I added event listeners to handle user clicks and navigate through the pages of the game. Another important aspect of the code was checking if the nextPage property was defined before attempting to navigate to it. This ensured that the game would not attempt to navigate to an undefined page, preventing potential errors.
    optionBox.setInteractive();
    optionBox.on('pointerup', function(){
        const newPage = this.option.nextPage;
        if(newPage !== undefined){
            destroyPage();
            displayPage(scene, fetchPage(newPage));
        }
    }, {option});
    gameState.options.push({optionBox, optionText});

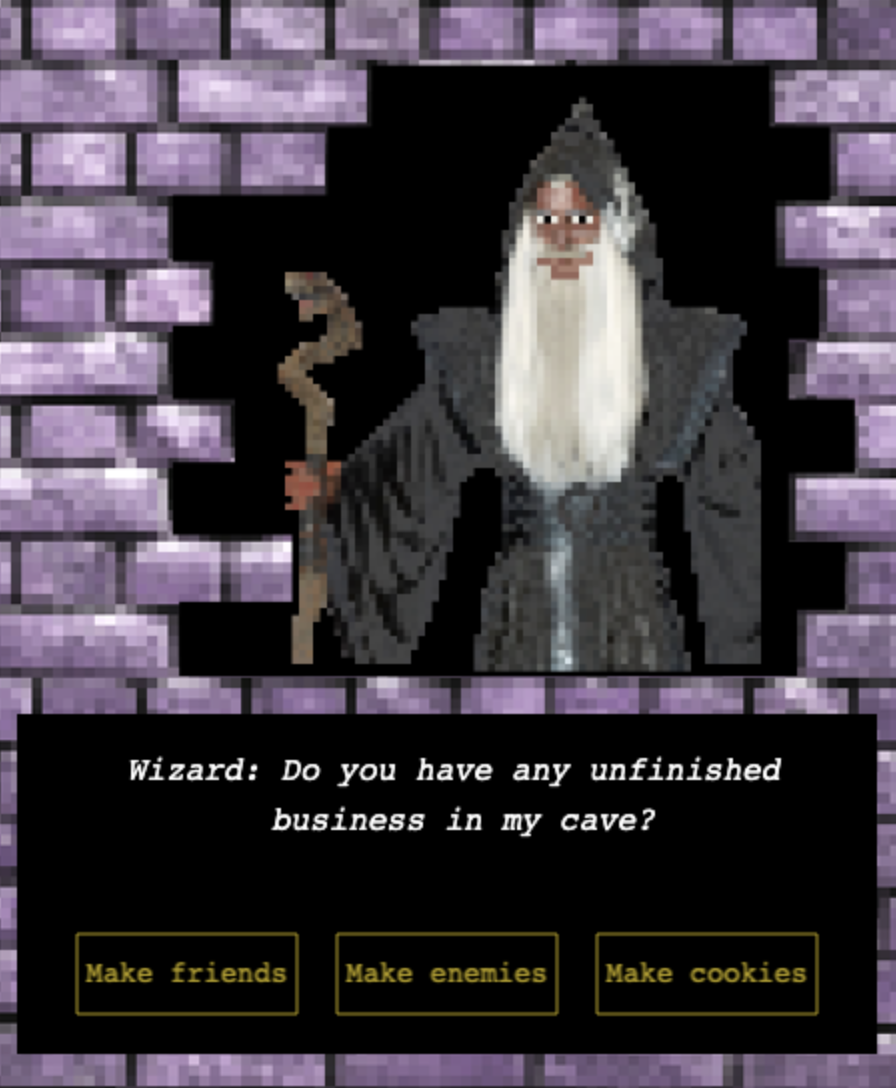
Adding Interactivity And Choices
The final step was to add interactivity to the option boxes to enhance user engagement. These made the option boxes visually respond to user interactions such as hovering over them with the mouse pointer.
    optionBox.on('pointerover', function(){
        this.optionBox.setStrokeStyle(2, 0xffe014, 1);
        this.optionText.setColor('#ffe014');
    }, {optionBox, optionText});
    optionBox.on('pointerout', function(){
        this.optionBox.setStrokeStyle(1, 0xb38c03, 1);
        this.optionText.setColor('#b39c0e');
    }, {optionBox, optionText})